
Want to receive post like these in your inbox? You can subscribe! It's free.
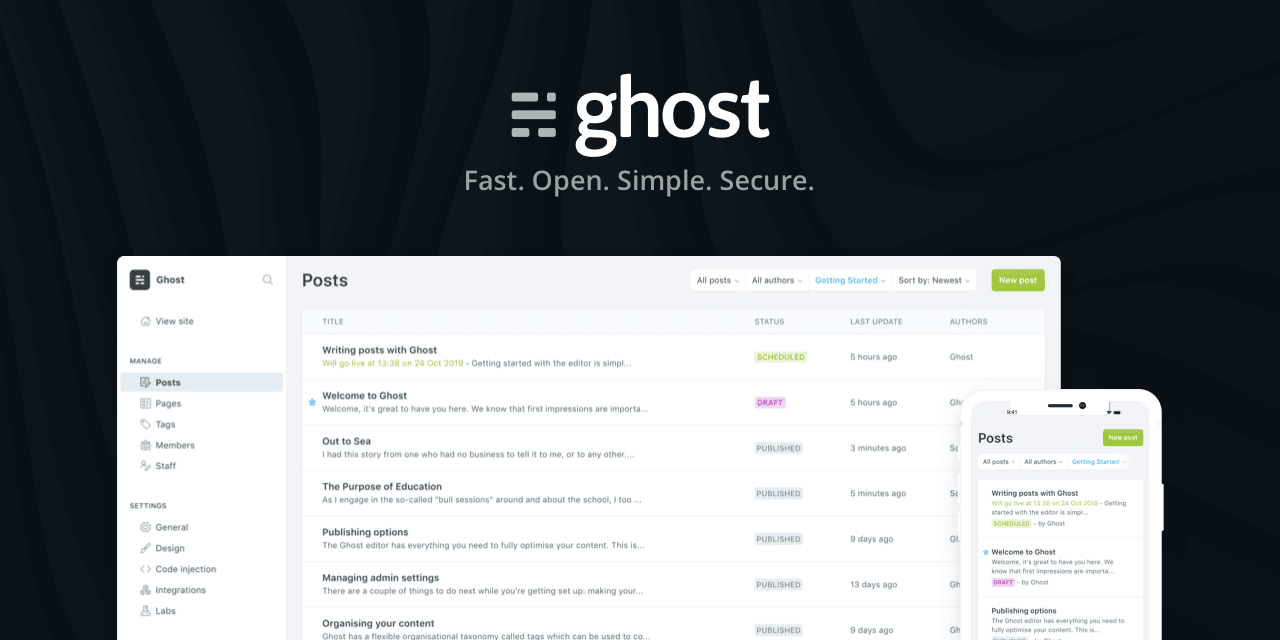
Today I will show you how you can setup your very personal blog in 3 easy steps. For this we will use the Ghost, an open source CMS for content writers.
There are three reasons why I love Ghost.
- Ghost is a free and open source
- Ghost is SEO friendly with many customizable built in features
- Ghost is built on top of NodeJS and other modern technologies
Alright, lets begin!
Step 1: Signup
Before we start, we need to make some new accounts.
- Digital Ocean: for website hosting (free first 3 months then $5/m)
- Godaddy: for registering a domain ($3/y depending on your domain name)
Note that, I personally started with deploying Ghost on Heroku which was free to use initially but got really expansive as I started to write more.
Digital Ocean
You will need an account on the Digital Ocean to host your site. The cheapest option cost $5 a month with first 3 months completely free.
Open this link below and signup on Digital Ocean. You'll love it.
Godaddy
Second, you will need a domain for your blog. Which is required to setup the blog on Digital Ocean. Unless you want to use an IP address to access your site.
You can choose a different platform to buy your domain from. I picked Godaddy because they have a great user interface and they are reliable.
Step2: Deploy
Now it is time to deploy the Ghost blog on Digital Ocean. But fear not, it is even easier than signing up. Follow these steps.
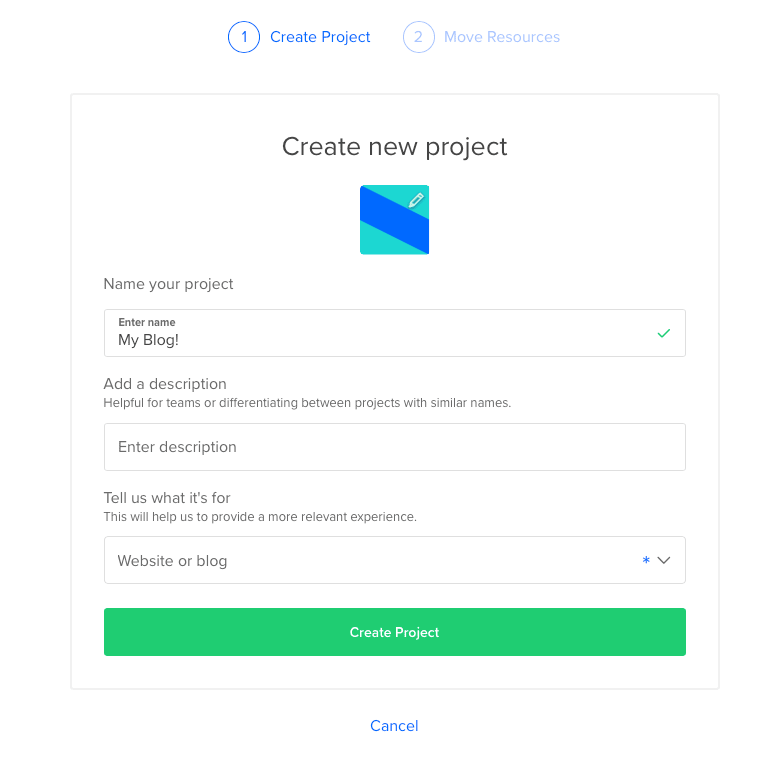
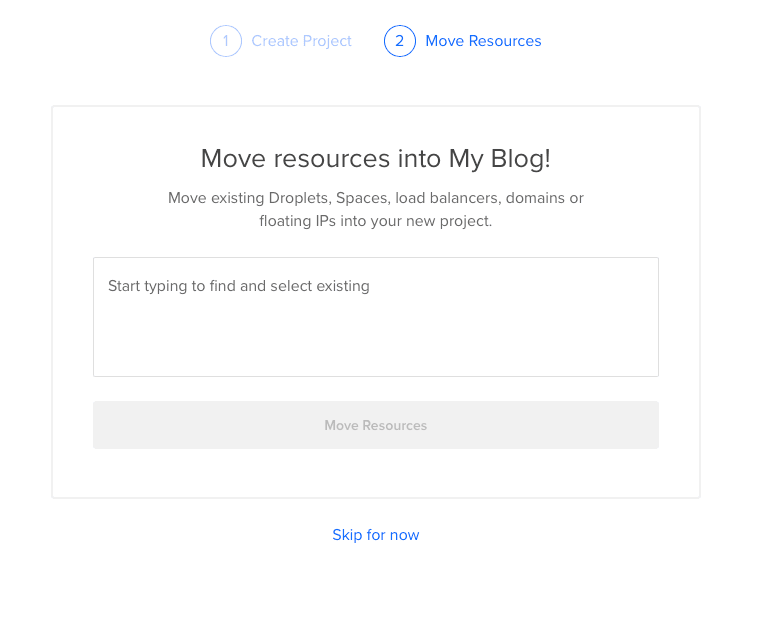
Create a project
- Create a New Project (Skip the move resources option if it shows up)
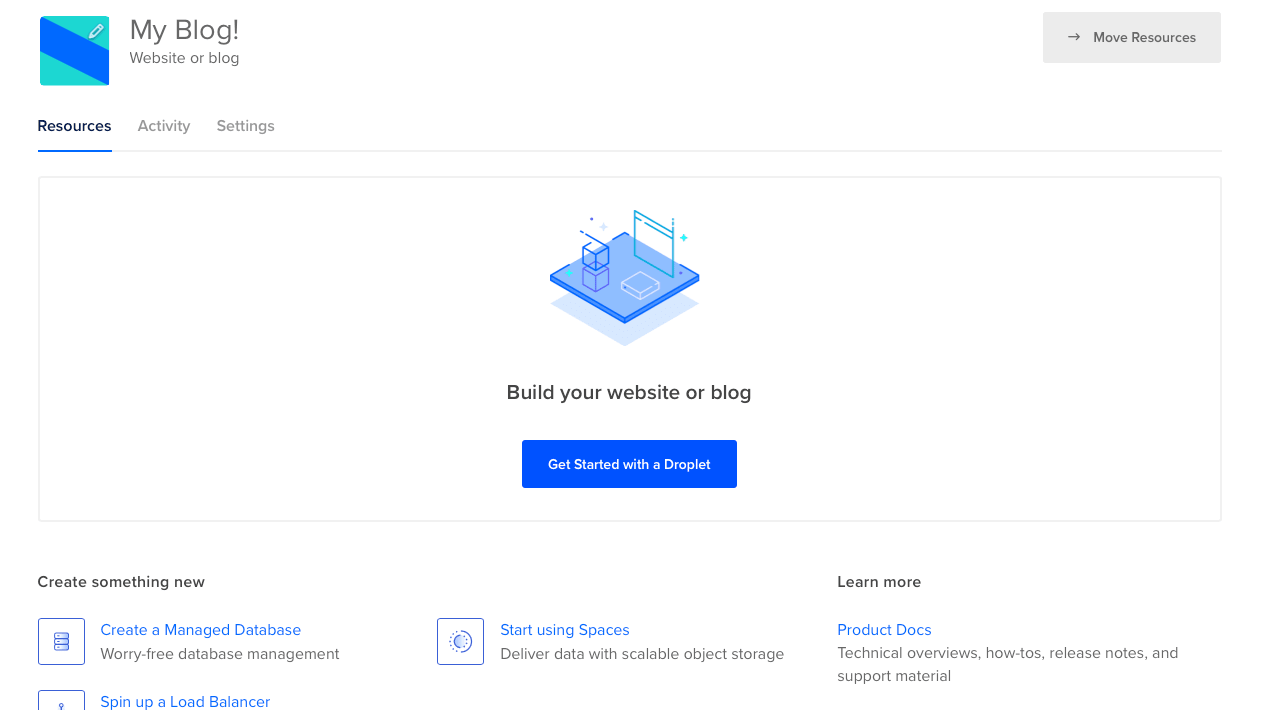
- Select the get started with a droplet option
Setup the droplet
Next step is to stir up a Ghost installation on the Digital Ocean droplet. For this we will use the Marketplace for one click install.
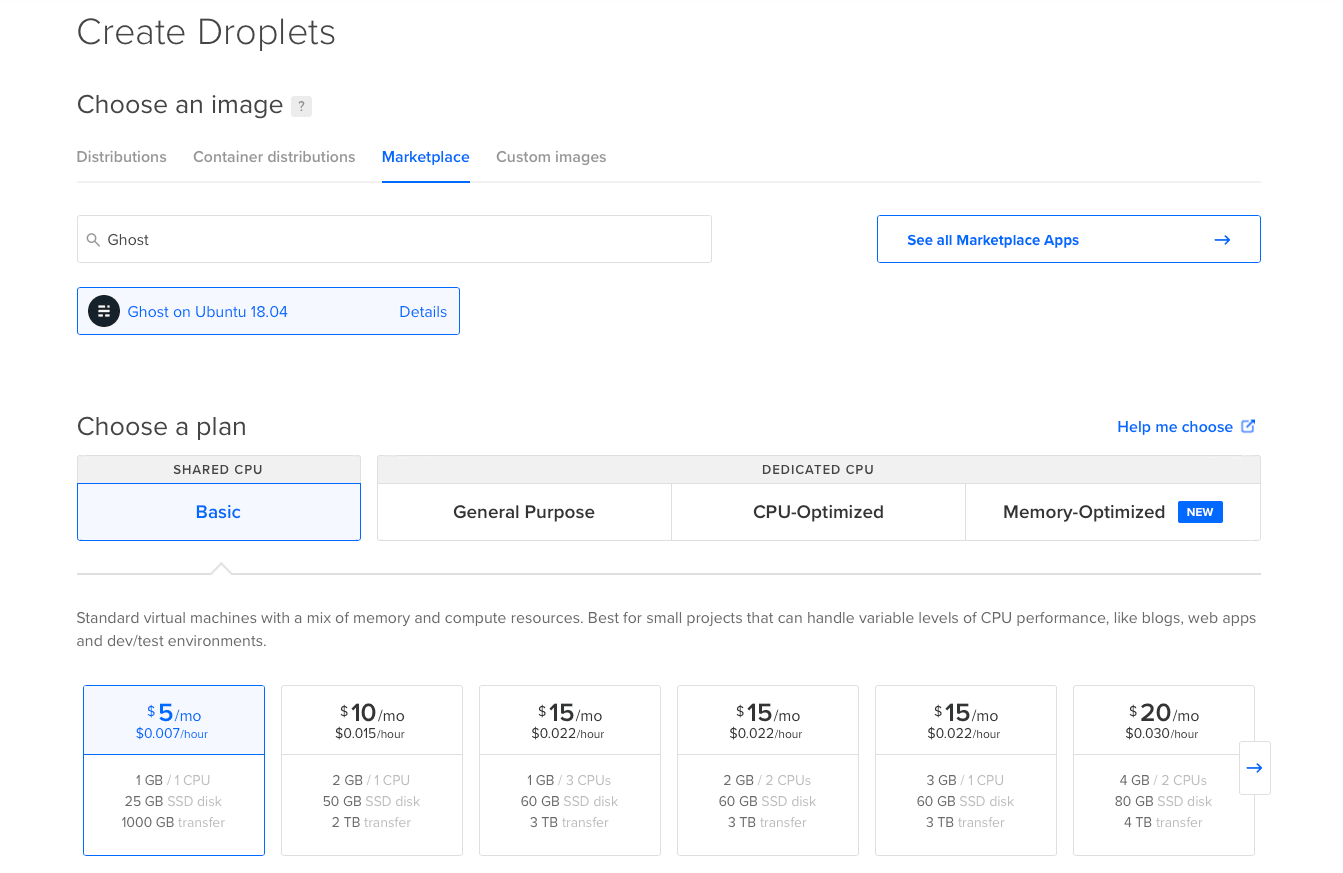
- Go to the market place tab and search and select Ghost
- Choose the basic $5/mo plan which is sufficient for beginners
- Choose the nearest data center
- Add a SSH key or use Password for accessing the droplet later
- Create the droplet
This will take a few seconds until it initializes on the server.
Step3: Configure
Next step, is to configure the Ghost blog and your domain name.
This can be done on the developer console provided by Digital Ocean. However, to use SSH you will want to use your local terminal.
Signin to your droplet using the command below in your terminal.
ssh root@your_droplet_ip
Once you login to your droplet, it will start initializing the Ghost blog. While it initialize, you will want to setup your DNS in the mean time. So go on your DNS provider (Godaddy in this case) and add the A Record pointing to the IP address of your droplet.
While initializing the Ghost instance the terminal will prompt you for a few things,
- Your domain name (or blog URL)
- Your email address (used for SSL)
As you enter the above info Ghost will successfully install with a message:
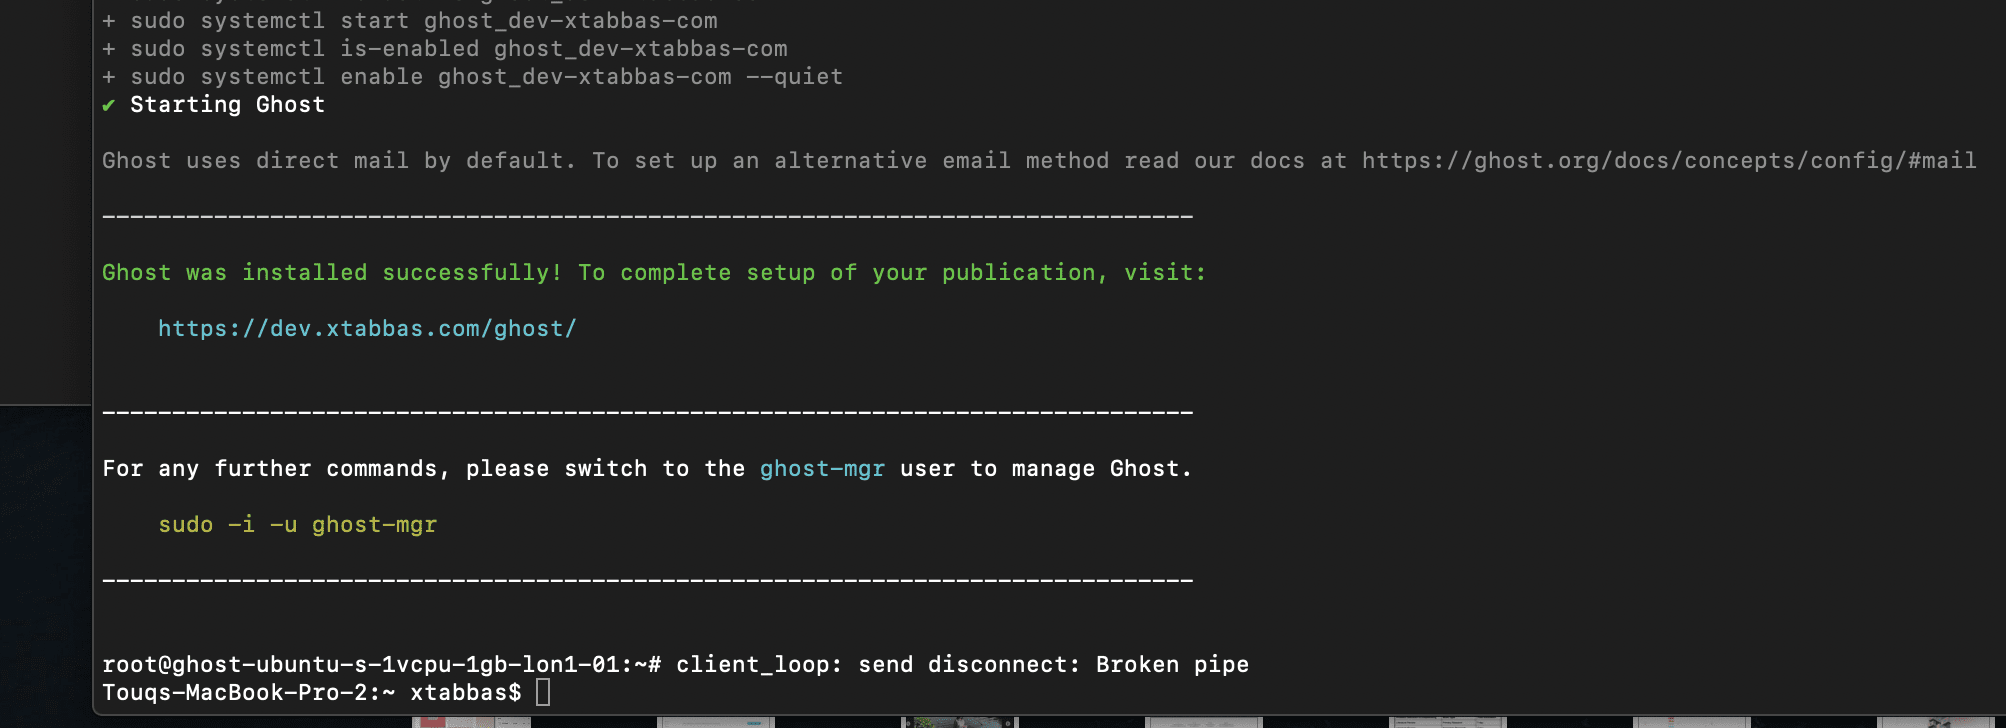
Write!
That's it, you're blog is up and running. You will want to create an account to access your Ghost dashboard. Do it by visiting `www.yourblogurl.com/ghost`. You can customize everything from the site title to background and meta data.
The theme market place have many free themes to choose from which you can change in the design settings menu. I personally use the default theme Casper and customize it to give it a personal touch. In my opinion it has a nice vibe by default.
Next step is to write!
This is the first post in a series of blog posts where I share how to properly setup a Ghost blog on Digital Ocean.
Checkout the road map
- How to self deploy a Ghost blog in 3 easy steps
- Setting up free image hosting for your Ghost blog (Cloudinary)
- Setting up Cloudflare CDN and analytics for your Ghost blog
- Configuring mailgun on Ghost blog and sending out your first newsletters!
- Easiest way to customize a theme for your Ghost blog